1. Mold On Microgreens
Getting mold on the microgreens and is usually due to having too much water on the tray or spraying water from the top when in vegetative stage.
In germination stage, you water from the top. In vegetative stage, water from the bottom. These 2 steps will help to curtail the problem of getting mold on the microgreens.
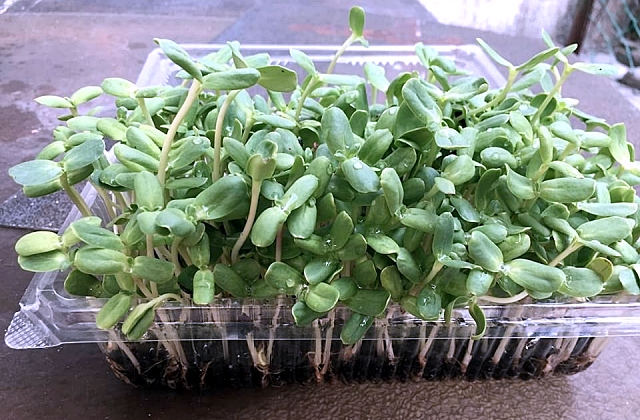
Not advisable to use fan to blow microgreens as it might potentially blow the mold spores into the other trays as microgreens are usually grown in a confined area.
Instead fix the watering problem and there will not be any mold problems. Best to keep humidity to between 35-50% and the lower the humidity, the better it will be for the microgreens. Mold loves humidity. If too much humidity, the microgreens will be damp at the top with mold attacking the damp areas.
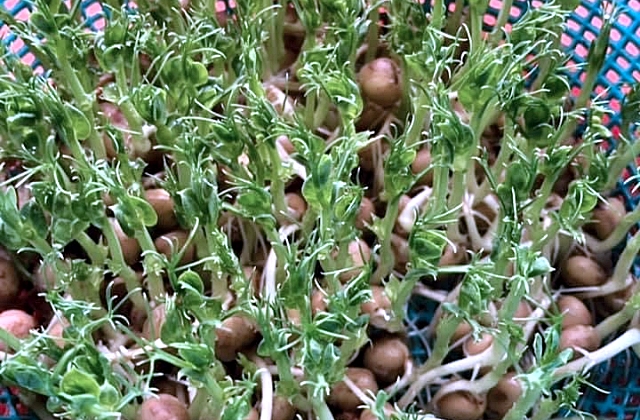
Molds usually appear at the top of the microgreens and will look like spider web. Many people thought they found mold at the bottom but that is actually the root hairs. Some people often confused with mold and root hairs, and that is a different microgreens problem. To get rid of mold, just remove the infected area, and lightly spray hydrogen peroxide solution to the surrounding areas. Ensure that the hydrogen peroxide used is food grade.
2. Root Rot
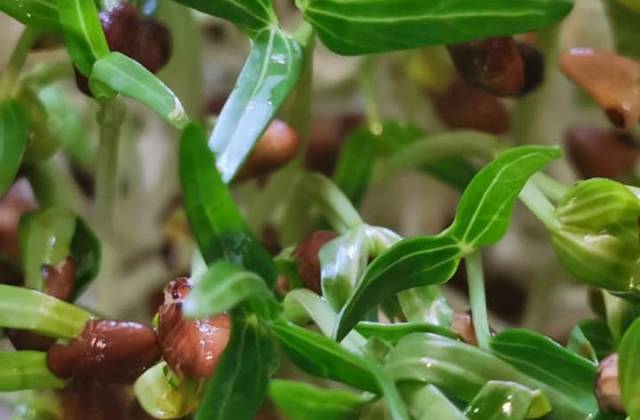
Second biggest mistake is root rot which happen when there are too many seeds and having them too densely planted together. When seeds are clumped together, the seeds at the top will germinate while the ones at the bottom will rot. So ensure that the seeds are evenly spread out and not too dense to avoid a situation known as dampening down. Under-seeding is better than over-seeding.
3. Harvesting Microgreens
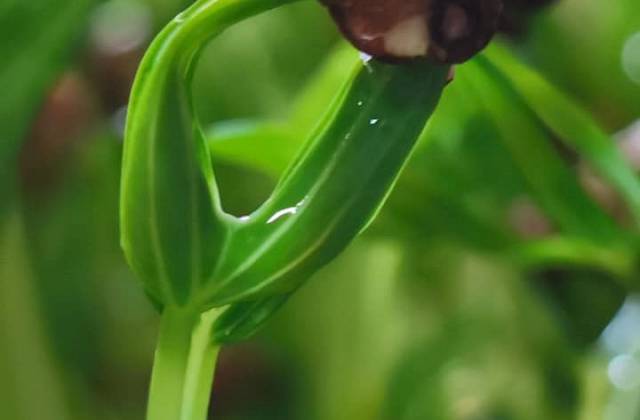
Never harvest them when they are wet as you don’t want to have damp soul sticking all over your microgreens. A damp microgreens can also affect the shelf life. Instead harvest them when they are dry.
4. Overwatering Microgreens
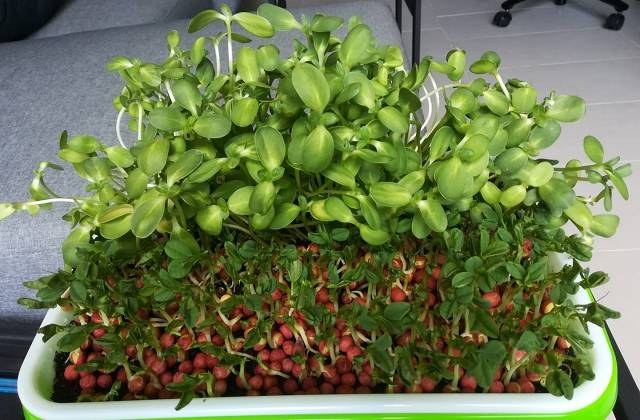
This is a common problem among microgreen growers. All plants need oxygen, and it will be depleted if you overwater. Instead check your microgreens everyday to see if they require more water. Remember that you can water microgreens from the top during the germination phase. Once they reached the vegetative phase, water from the bottom. If growing pad is used instead of soil, just tilt the tray and lift up the pads to check on the water level.
However if you are growing with soil, then do the “finger test”, which is by checking if the soil is spongy and moist when pushing your finger in. The soil should not be muddy.
5. Mistaking Root Hairs For Mold
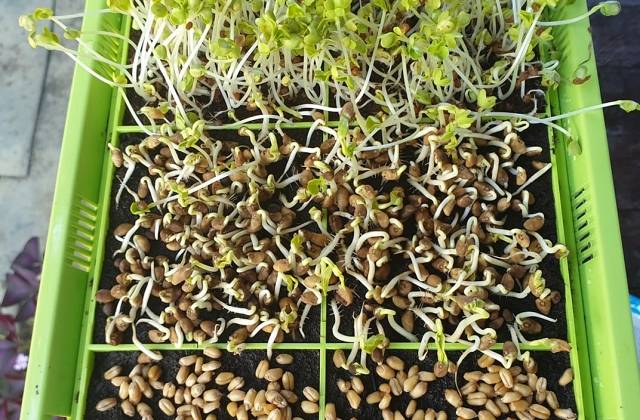
Many microgreen beginners confused the root hairs for mild. Root hairs are normal for microgreens. They are found at the bottom of the plants whereas mold are towards the top, looking like a spider web. Root hairs will cover the whole tray but mold will only appear in a certain location. Mold is usually caused by overwatering, poor air circulation or too high humidity.
A simple way to check if they are root hairs or mold is to do the spray test. Simply spray some water on them and if they disappears, then they are root hairs. Mold will remain visible.
6. Sanitizing The Equipment
Not getting the equipment sterilized can be a potential problems for growing microgreens. To prevent the problems of mold growth, you must ensure that all containers are clean. This is to prevent your next batch of microgreens to be infected by any bacterial or microbes. Clean those trays and equipment with warm and soapy water. Then use food-grade hydrogen peroxide solution to spray onto them. Leave for about 20 minutes before rinsing and drying.
Many microgreen growers stopped and gave up after a few failed attempts. Although growing microgreens are generally easy compared to other types of vegetables, however different locations and situation will gives different challenges. If you are thinking of growing microgreens because you have failed the first few times, I would encourage you to keep trying and you will get it right eventually.